Quick Start
This guide gets you into the included Pioneer demos quickly. After completing the Installation Guide, open a sample map, play with the core workflows, and use the working examples as a reference before creating your own content.
Step 1: Enable Plugin Content
In the Content Browser, enable plugin content if the Pioneer, RTSMassBattle, or TopDownZombieShooter folders are hidden.
The most useful maps are:
Pioneer/Core/Maps/L_DemoMapPioneer/Core/Maps/L_HeightDemoMapRTSMassBattle/Maps/L_MassBattleDemoTopDownZombieShooter/Maps/L_TDZS_DemoMap
Step 2: Choose A Starting Map
Open Pioneer/Core/Maps/L_DemoMap if you want to see the foundation first: selection, movement, spawning, navigation, avoidance, instanced rendering, and LOD.
Open RTSMassBattle/Maps/L_MassBattleDemo if you want the fastest look at Pioneer as an RTS toolkit: deployment, groups, formations, command cards, melee combat, ranged combat, projectiles, and match UI.
Open TopDownZombieShooter/Maps/L_TDZS_DemoMap if you want to see the Actor-Mass Bridge in action, with detailed Actor operatives fighting Mass enemies.
If you are evaluating the combat update for marketplace review, start with L_MassBattleDemo, then open L_TDZS_DemoMap.
Step 3: Test Basic Controls
Controls vary slightly by sample, but these workflows are the main ones to test.
Core And RTS Samples
- Left-click or drag-select units.
- Right-click ground to move selected units.
- Use command hotkeys or command-card buttons in the RTS sample.
- Queue commands with the queue modifier configured in the sample input setup.
- Create, recall, merge, and ungroup control groups in the RTS sample.
- Try attack move, hold position, patrol, follow, retreat, and charge where exposed by the sample UI.
Top Down Zombie Shooter Sample
- Control the camera with the sample pan and zoom inputs.
- Issue context commands to the operative squad.
- Use face-direction command behavior to orient the squad.
- Watch Actor operatives fire at Mass zombie enemies through the bridge.
- Choose run upgrades when the level-up UI appears.
Step 4: Inspect The Setup
The main Blueprint and content locations are:
Pioneer/Core/Game- original core game mode, player controller, and pawn setupPioneer/Core/Mass- core Mass unit configs and spawner assetsPioneer/Units- combat-ready unit examples such as archer, swordsman, knight, longbowman, peasant, warlord, and catapultRTSMassBattle- RTS sample Blueprints, data, HUD, input, deployment, and mapTopDownZombieShooter- top-down shooter sample Blueprints, data, input, UI, zombie configs, and map
Most player-facing behavior is assembled through Player Controller components. The C++ systems provide the runtime logic, while the sample Blueprints show how to wire them into an actual game mode.
Step 5: Create Or Modify Units
Units are authored as Entity Config Assets. Start by duplicating an included unit config, then adjust traits:
- Instanced Actor Trait for mesh and rendering
- Movement Trait for movement behavior
- Avoidance Trait for crowd separation
- Selectable Trait for selection
- LOD Trait for large-count optimization
- Unit Attributes Trait for health, armor, and melee attack values
- Ranged Attack Trait for projectile units
- Unit Animation Trait for Idle, Walk, Run, Charge, Attack, and Death animation states
- Actor-Mass Bridge Participant Trait when the entity should interact with bridged Actors
See Creating Units.
Step 6: Learn The Systems
- Entity System
- Navigation System
- Rendering System
- Selection System
- Spawning System
- Combat System
- Command System
- Groups and Formations
- Actor-Mass Bridge
- Mass Animation System
Common First-Time Issues
Plugin content is missing
Enable plugin content in the Content Browser view options.
Units do not move
Build the navigation mesh, confirm the target location is on navmesh, and verify the unit config has Movement Trait.
Units do not attack
Confirm Unit Attributes Trait is present, team IDs are valid and hostile, and enemies are within engagement range.
Ranged units do not fire
Confirm Ranged Attack Trait is present. If line of sight is enabled, test with clear sight lines before tuning projectile visuals.
Actor operatives and Mass enemies ignore each other
Confirm both sides are registered with the Actor-Mass Bridge and have hostile combat profiles.
Getting Help
If you run into issues:
- Review the Installation Guide.
- Check the relevant system page.
- Ask for help on the Discord server.
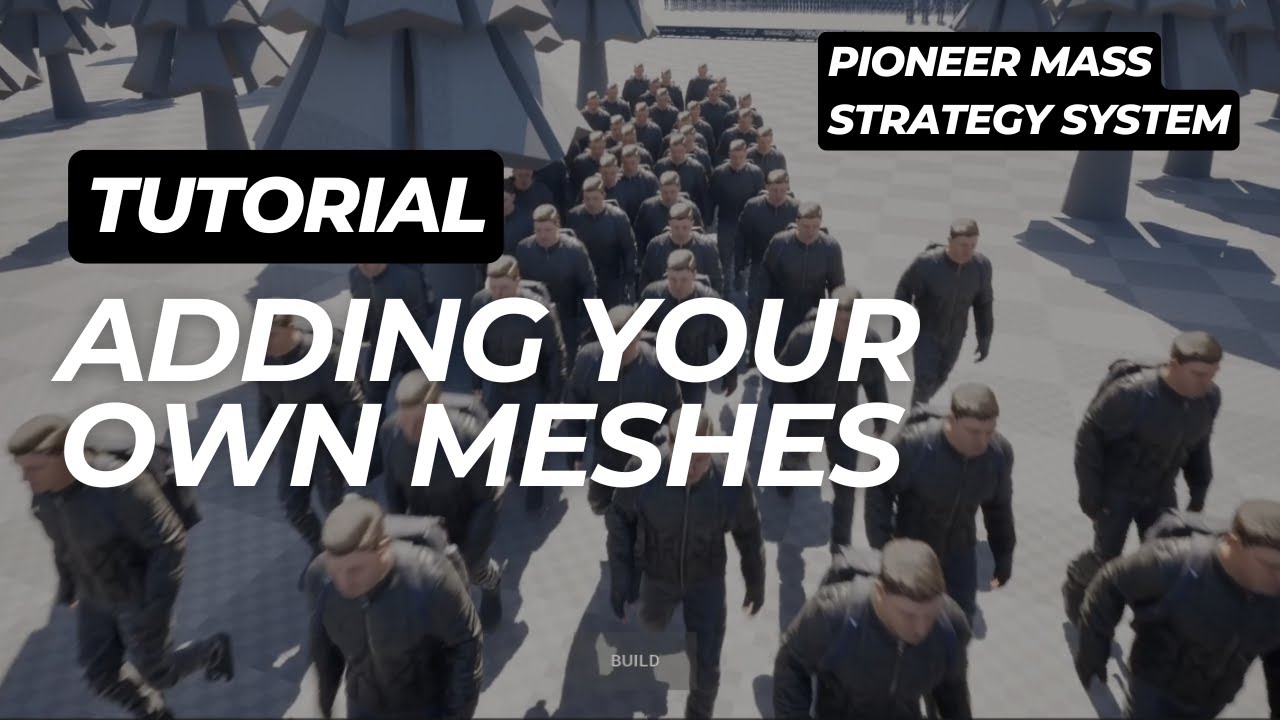
Tutorial Video
This tutorial covers first steps and adding custom meshes: